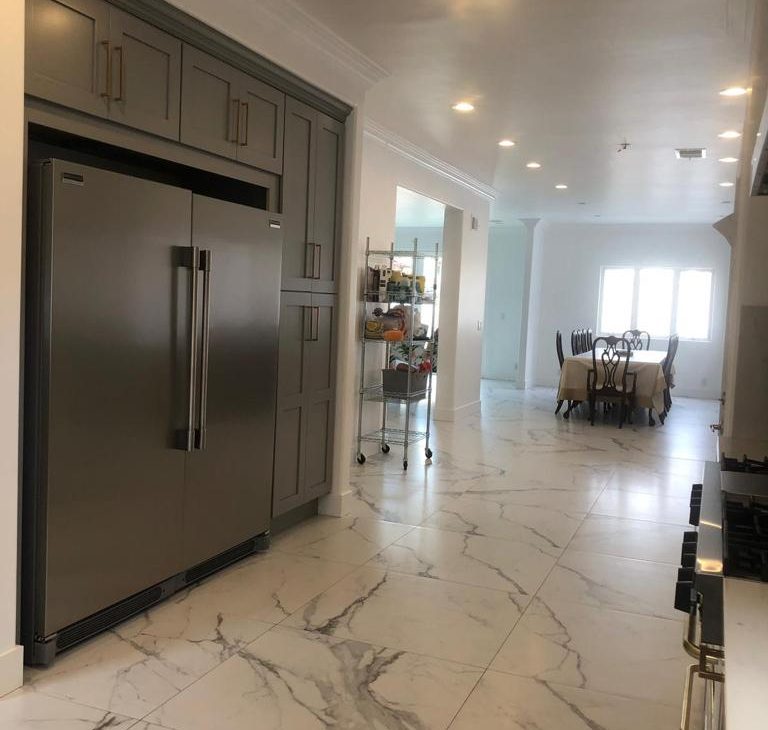
Tile installation is perhaps the most rewarding way to give a room a makeover. Whether you’re updating a kitchen backsplash, remodeling bathroom flooring, or redoing an outdoor patio, tile provides durability, easy maintenance, and endless design options. Professional installation is always an option, but homeowners are increasingly choosing the DIY route to save money and personalize the process.
This guide will walk you through the fundamentals of tile installation—planning and preparation, through grouting and sealing.
Step 1: Planning Your Tile Project
Planning is essential before you break out the trowel. Here’s what to do:
1. Choose the Right Tile
Rooms in your home require different kinds of tile:
- Porcelain: Durable and water-resistant, ideal for kitchens and bathrooms.
- Ceramic: Less expensive and easier to cut, best for walls and backsplashes.
- Natural Stone (like marble or travertine): Adds a touch of elegance but needs to be sealed.
- Glass: Pretty and reflective, usually reserved for accents.
2. Measure the Space
Measure precisely the space in square feet. Include 10–15% extra tile for cuts, breakage, and potential repairs in the future.
3. Choose a Layout
Common patterns are:
- Straight lay (grid)
- Diagonal
- Brick (offset)
- Herringbone
- Basket weave
Each layout can affect how much tile you’ll need and how complicated installation will be.
Step 2: Gather Your Tools & Materials
Here’s a basic checklist for tile installation:
- Tiles (plus extra)
- Thin-set mortar or mastic adhesive
- Tile spacers
- Notched trowel
- Grout and grout float
- Tile cutter or wet saw
- Level
- Tape measure and chalk line
- Sponge and bucket
- Sealer (for porous tiles or grout)
Optional: Knee pads, mixing paddle, drill, backer board, and waterproofing membrane.
Step 3: Prepare the Surface
Proper surface preparation is key to a long-lasting tile installation. Tiles will not adhere well to uneven or unstable surfaces.
1. Clean and Level
Remove old flooring, nails, or debris. Check level and fill dips or sand down high spots.
2. Install Backer Board (if needed)
For bathrooms or floors that get wet, cement backer board provides a solid, watertight surface. Nail it down and stagger joints as in brickwork.
3. Dry Fit the Tiles
Lay out tiles in your chosen pattern without adhesive to visualize spacing and mark cuts.
Step 4: Laying the Tile
1. Mix Your Mortar
Read the directions carefully. Mix in small batches so it does not dry too quickly.
2. **Spread Thin-Set
Use the flat edge of your notched trowel to spread mortar. Then use the notched edge to comb lines into it—that will help with tile adhesion.
3. Set the Tiles
Push tiles firmly into place, twisting slightly to get full coverage. Insert spacers between tiles to maintain even joints.
4. Cut Tiles as Necessary
Use a tile cutter for straight cuts or a wet saw for curved or heavy pieces. Always wear safety goggles.
5. Check for Level
Use a level frequently to have a flat, level surface. Make adjustments as necessary before the mortar dries.
Step 5: Grouting the Tiles
Let 24 hours pass for the mortar to harden before grouting.
1. Mix and Apply Grout
Spread grout onto the tile using a grout float, forcing it into the joints diagonally. Do it in sections.
2. Clean Out Excess Grout
Wipe out excess with a damp sponge after 15–30 minutes. Change the sponge often and don’t pull grout out of the joints.
3. Remove Haze
After grout has dried, a white haze (haze) may appear. Use a dry cloth or haze remover to buff it off.
Step 6: Sealing and Finishing
1. Seal the Grout
After 72 hours, seal grout to stop stains and water penetration. This is particularly crucial for kitchens and bathrooms.
2. Seal Natural Stone Tiles
If working with porous surfaces such as marble or travertine, seal the tile surface too.
3. Caulk Expansion Joints
Seal silicone caulk where tile intersects tubs, sinks, or walls. These areas expand more than grout can.
Professional Finishing Tips
- Begin in the room center for even cuts along the walls.
- Level using systems for big-format tiles to prevent lippage.
- Watch your drying times—haste makes weak bonds and cracked grout.
- Keep your area tidy so that dried mortar or grout spoils the finish.
- Check your layout with chalk lines before spending adhesive money.
Mistakes to Steer Clear Of
- Uneven surface preparation: Leads to cracked or loose tiles in the long term.
- Incorrect adhesive choice: Always install using mortar that is appropriate for your tile type.
- Omitting expansion gaps: Tiles need room to expand and contract.
- Failure to seal porous materials: Leaves them vulnerable to stains and water damage.
Cost and Time Factors
- Material cost: Range from $1–$20 per square foot depending on the tile type.
- Labor (if hiring): $4–$12 per square foot.
- Time: It will take a weekend or more for DIY installation, depending on the size and complexity.
Last Thoughts
Tile installation is an example of a creative project that demands precision and patience. When you’re replacing your kitchen floor, creating spa-like atmosphere in your bathroom, or lending elegance to an entrance, beautifully installed tile puts the finishing touch on any room.
With the right tools, a solid plan, and some attention to detail, DIY tile installation can be a rewarding and money-saving venture. But remember, for complex patterns or wet spaces, don’t hesitate to bring in the professionals—because great tile work will last for decades if it’s done properly.

